# Getting Started
# Getting Blender2Camera2
Open my github page and download the latest Release package (opens new window).
# Getting FFMPEG
This can be confusing so I wrote a special section. FFMPEG is required for dumping frames from the reference video that will be used for camera synchronization in Blender.
This guide assumes that you are using Windows. If you are using Linux then you are on your own.
# Step 1: Open the download page
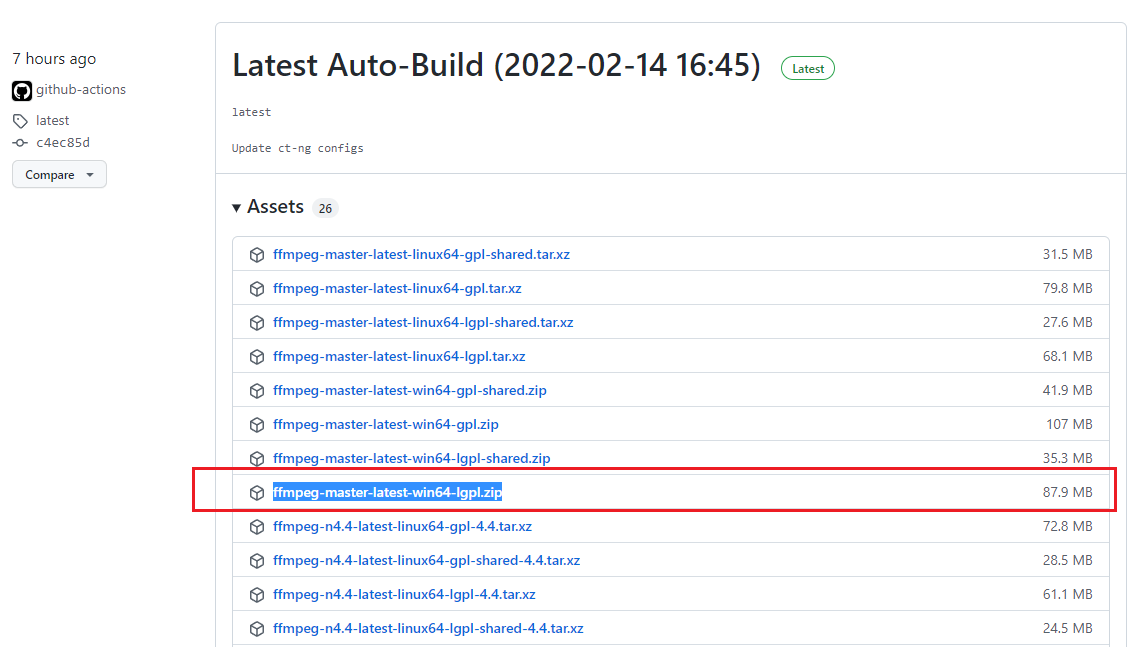
Open the BtbN's FFMPEG build page (opens new window).
# Step 2: Download the package
- Find ffmpeg-master-latest-win64-lgpl.zip and download it.
- Unzip the ZIP and put the contents in a safe place.
# Capture the Reference Video
Now decide what map you want to play. Use your screen recording software to capture at least one successful run with the map.
The captured video will be split up into individual frames and imported into Blender as a video texture. This will make camera movement synchronization MUCH easier.
There are several options available for screen capture.
- Open Broadcaster Software (OBS) Studio (opens new window)
- nVidia GeForce Experience
- AMD Radeon ReLive
Use your capture software to record yourself playing the map of your choice.
# Capture Hints
I use an over-the-shoulder view so I have a good view of my character model and the blocks. I can also see the cinema screen, which is useful if I am trying to sync with an existing music video.
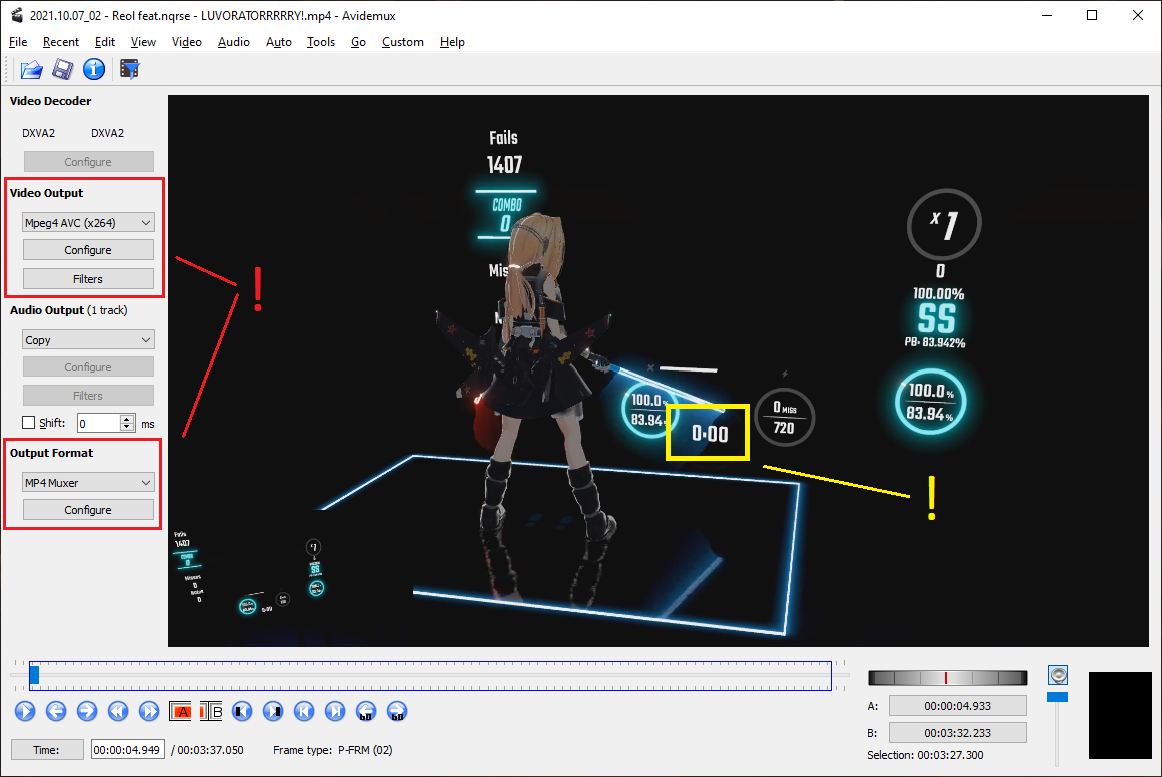
# Trim the Reference Video (with Avidemux)
Open the reference video file in Avidemux. Avidemux can trim the video down to only the parts that you need.
The trim buttons look like this:

The seek buttons look like this:

Use the left and right keyboard keys to seek individual frames.
TIP
- Trim the video to the frame JUST BEFORE the map timer appears with a value of 0.
- Trim JUST AFTER the map ends (as the game fades to black from the map)
# Exporting the Reference Video
# Step 1: Set output format
- Set Output Format to MP4.
- Set Video Output to Mpeg4 AVC (x264)
The audio won't be used, so don't worry about the audio settings.
# Step 2: Save the video
Save the video somewhere in its own folder. Use a short file name.
# Extract Individual Frames
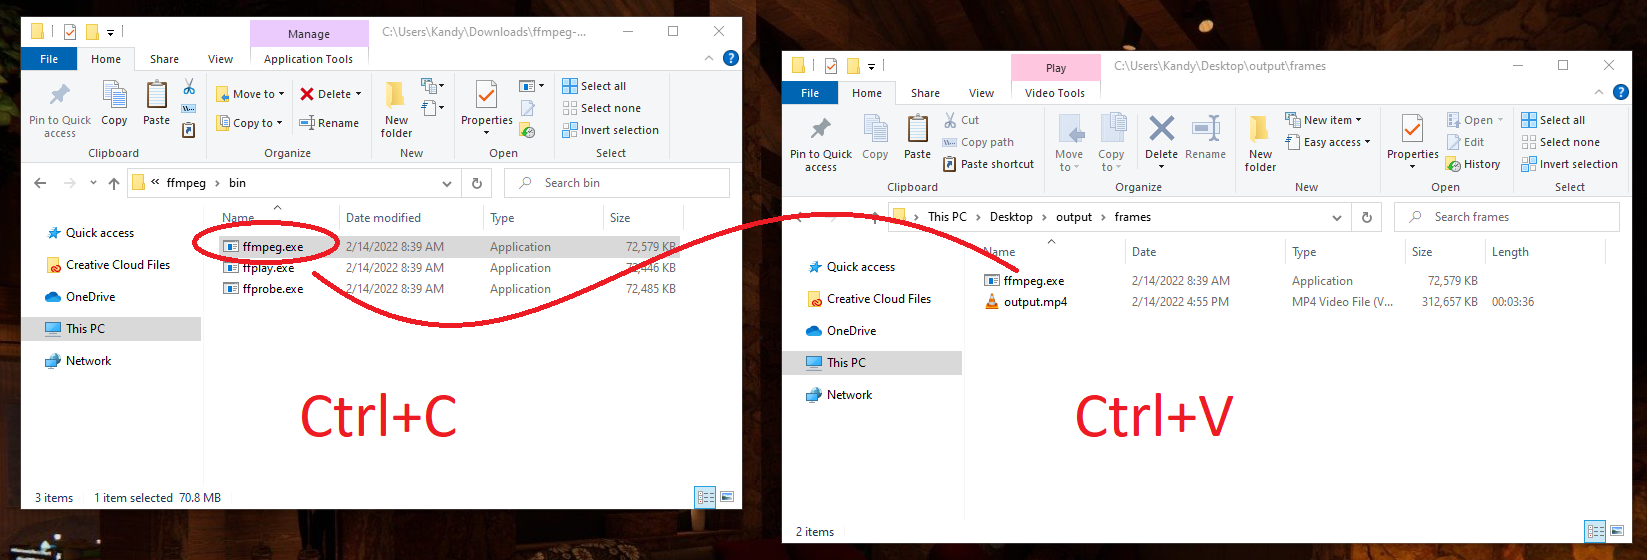
# Step 1: Grab FFMPEG
Copy ffmpeg.exe into the same folder as the output video file.
# Step 2: Start Powershell
In the target folder, right-click and select Open Powershell window here.
# Step 3: Run FFMPEG
TIP
The next step depends on the version of B2C2 you have.
Paste the following command in the Powershell window and hit Enter.
For B2C2 v1.0
.\ffmpeg.exe -i output.mp4 -s 960x540 -filter:v fps=120 frame-%06d.jpg
For B2C2 v1.1 (or newer)
.\ffmpeg.exe -i output.mp4 -s 960x540 -filter:v fps=60 frame-%06d.jpg
Wait for FFMPEG to finish processing.
# Retrieve the Reference Audio
Obviously audio is not stored inside individual frame files that were created with FFMPEG. The audio will need to be retrieved separately.
Fortunately this is an easy step since the audio should already be included with the map you played.
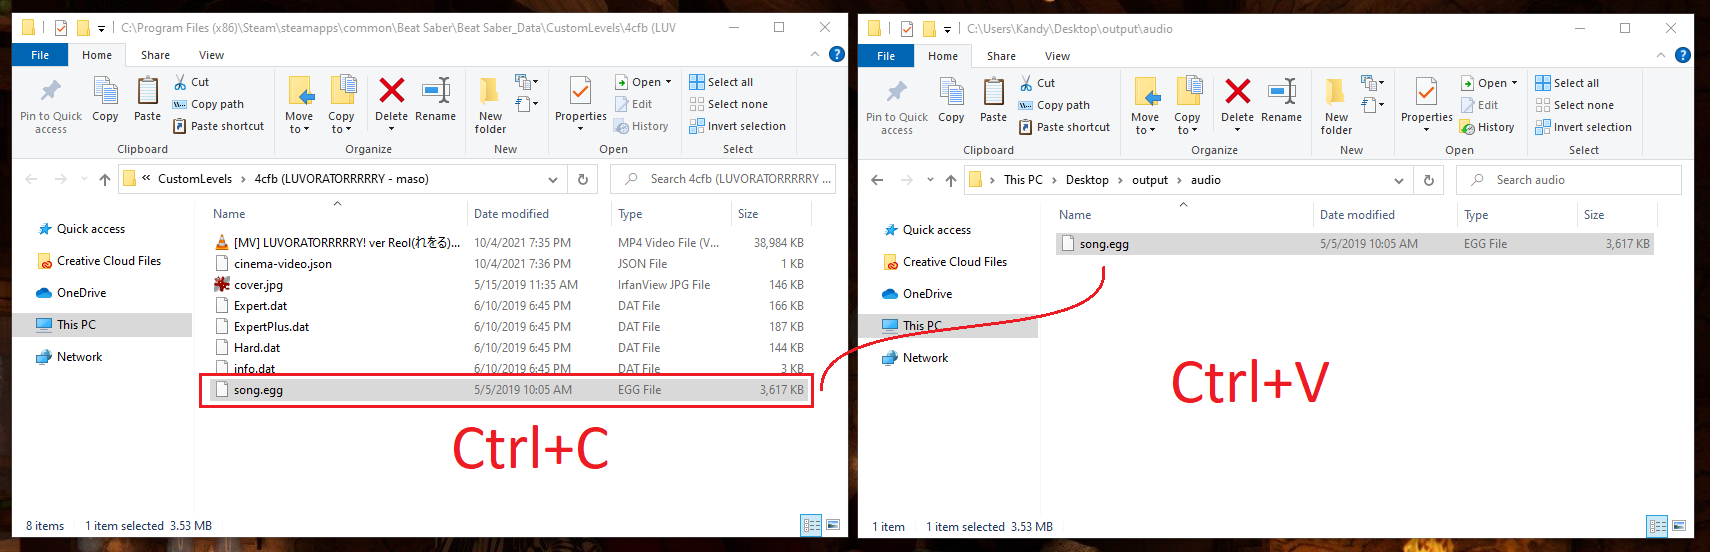
# Step 1: Find your map audio
Your map audio can be found in either:
.\Beat Saber\Beat Saber_Data\CustomLevels\<path to your custom map>- The map's downloadable ZIP
Copy the .egg file and put it somewhere safe.
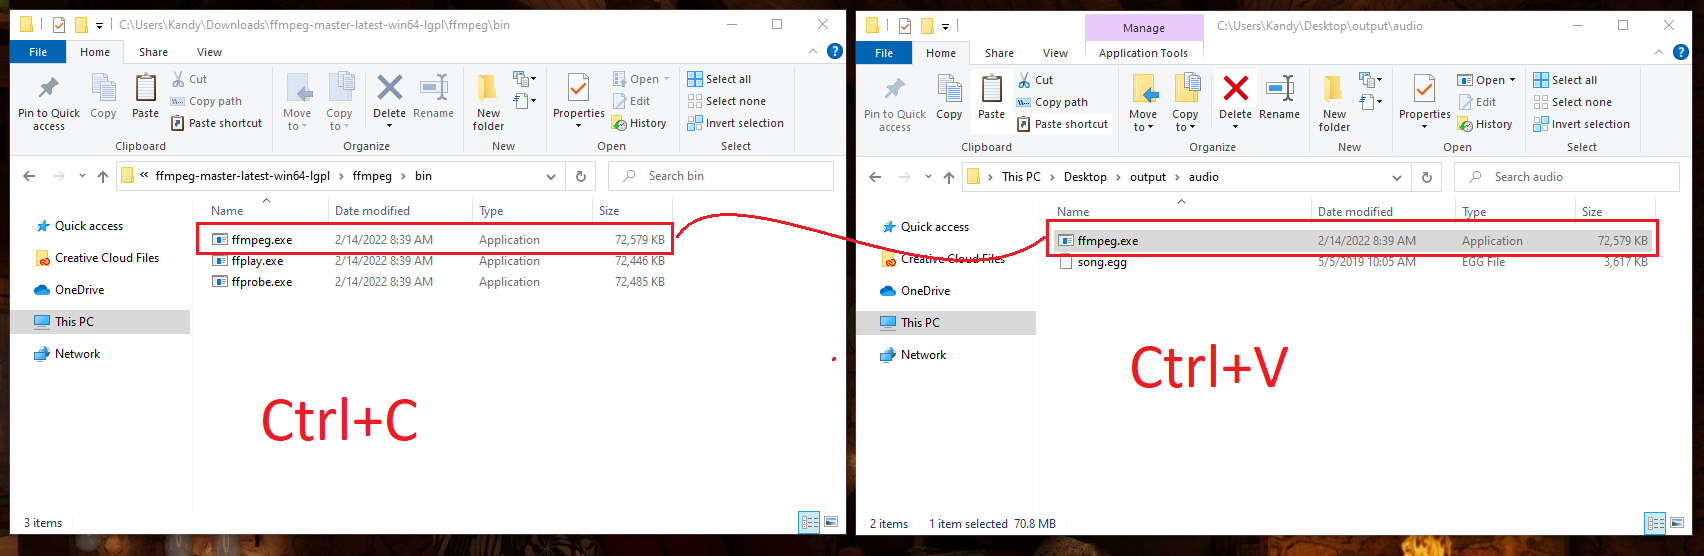
# Step 2: Grab FFMPEG
Also copy ffmpeg.exe into the same folder.
# Convert Map Audio to .wav
The map audio must be converted into a format that Blender can understand.
# Step 1: Start Powershell
Open another Powershell window, just like when you were extracting the video frames.
# Step 2: Run FFMPEG
Paste this command in the Powershell window and hit Enter:
.\ffmpeg.exe -i .\song.egg song.wav
The output .wav file will appear in the folder with the original music.